A wide range of add-ons to help you create sometimes startling, sometimes pretentious images.
I’ve worked with Alien Skin Software plug-ins for years. As with other plug-ins, I at times became so enchanted by them that I lost sight of the original image or my purpose in using the plug-in. And once I realized that I was allowing myself to be swept up in this mania of adding effects just for the sake of doing so, without rhyme or reason, I pulled back and placed some restraints on myself– actually, it’s an ongoing process.
And, granted, it’s a fine line. But when you’re no longer using imaging tools to realize your vision or make a bolder visual statement, you’re crossing that line and fooling yourself into thinking you’re producing more imaginative pictures, when in fact you’re falling into an abyss you may never crawl out of. At the end of the day, consider whether you want to be Homer or Lisa (Simpson, if you haven’t gotten with the program). Homer sees the forest but never the trees, whereas Lisa approaches each tree with a deliberate step, taking time to study the branches.
That said, darn it, these things are fun! If you’re willing to suspend disbelief and accept them for what they are, plug-ins open up new vistas. And Alien Skin’s plug-ins are so vast and furious (soon to be a movie playing at a theater near you) that there’s no end to what you can do with an image. The only plug-ins that surpassed these in the past came from Kai’s Photo Tools– I mean the full range, not the paltry few remaining ones we find these days. Today, the only other viable competition comes from Nik Software-and really, it’s arguable which plug-ins are better.
Okay, enough with my philosophical meanderings…
The Alien Skin plug-ins under discussion are Blow Up 2, Image Doctor 2, Bokeh (the newest, hence still in its first generation), Exposure 2, and Snap Art 2.
Of these, the first two are primarily aimed at making images more usable-technically, utility tools. The last three produce a range of enhancements from subtle to stark, falling under what we’d call effects, although we might describe Bokeh more as a simulation tool. And if these aren’t enough for you, Alien Skin also has Xenofex and the Eye Candy series. Each is what you make of it. As I said, there was a time when I thought I couldn’t live without them. Now, my tune has changed somewhat, especially once I began to process images in Nikon’s Capture NX2, where I began to realize a new world of possibilities. (Both NX2 and Viveza, a plug-in, were developed by Nik Software and utilize proprietary technology you won’t find in Photoshop. While it comes close to NX2, Viveza lacks the larger program’s flexibility and overall utility. On top of which, NX2 is also Nikon’s ultimate RAW conversion software.)
What’s a Plug-in?
As many of you well know, a plug-in is an add-on software app (or applet) designed to work seamlessly within a host application. While a few plug-ins also work stand-alone, the majority are accessed via the host app’s menu tree, and in the case of Photoshop, largely under “Filters.”
A Photoshop filter is not the typical filter familiar to us in photographic terms. It can be an effect or an enhancement or any loosely defined means towards an end. Plug-ins often make use of combinations of instruction sets borrowed from the host app (in the form of “actions”) and do their thing with a simple mouse click or two, but more often than not they can, and must be, tweaked to deliver results best suited to your needs and tastes.
Installation and Interface
Each plug-in follows normal installation procedures for your operating system (Mac or Windows). Make sure to select the appropriate Photoshop plug-in folder. Each also requires activation with a provided key code (although the plug-ins can be used on a trial basis when initially downloaded)-and may require a system restart following installation (a necessary nuisance).
(Note: I should add that I did have some installation problems on my Intel iMac, running OS 10.4 Tiger, for undetermined reasons. In fact, Bokeh and Blow Up 2 kept giving me error messages, so I gave up and instead turned to my PC for these applets. Under 64-bit Windows Vista on my Gateway P-7807u FX Edition, only Bokeh, Snap Art 2, and Blow Up 2 currently install in 64-bit Photoshop. (You do have to make sure to install under the correct version of Photoshop-32-bit/X86 or 64-bit-to ensure proper operation. My Gateway has a fast NVDIA GeForce 9800M GTS graphics card with 1 GB discrete video RAM for fast rendering, and 4 GB onboard memory-all needed to run Photoshop CS4 Extended edition; the iMac is an older machine with less processing power but capable of handling CS3 Extended with no difficulty-but not CS4.)
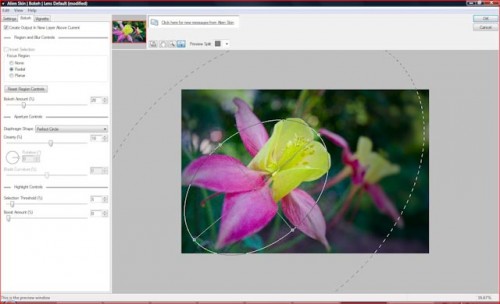
When the plug-in is selected, a new interface opens up. Whatever effects you select are applied by, of course, clicking OK (or CANCEL to exit and leave the image intact). Whichever filter was last applied remains selected the next time you go back into the plug-in. Many of these plug-ins add a separate layer.
While the overall look of the interface is similar, each plug-in presents you with a specific set of parameters on tabbed pages. Using “Settings” is simplest, since each action is pre-defined, and you just select the one you like and need do nothing more to apply the effect. But if you tab to subsequent screens, you open up a world of options, largely governed by sliders (not to be confused with the TV series “Sliders”).
You can virtually drive yourself silly with all the tweaking that goes on here. That said, once you get into these little programs and get tired of the same old, same old, you’re likely going to explore your adventurous side and play with all these settings. Hint: enlarge the window as much as possible. Then enlarge the image to get a better feel for what’s happening. But go back and forth between the reduced size and larger size to get the full impact and catch subtleties.
Now let’s look at what these various plug-in have in store.
Bokeh
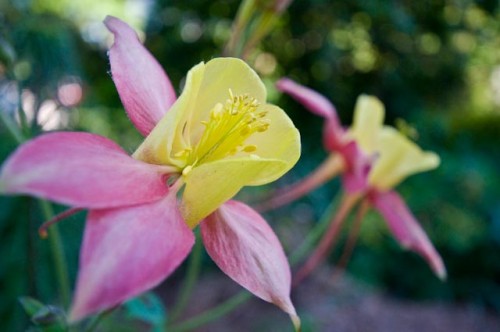
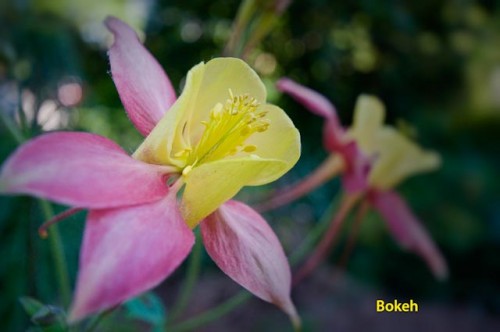
Finding its origins in Japanese (according to various sources), the term bokeh has lately gained popularity in the photographic jargon, and more importantly in practice. In the past we’d use the term “selective focus” to apply to a subject in focus against a softly blurred background, through the use of relatively large lens apertures (f-stops). Bokeh applies to the flip side of the coin–the blurry portion of the scene, or more importantly our subjective sensation, again as a result of using these same f-stops.
But in practice, the lines between bokeh and selective focus are beginning to blur, and the two are becoming synonymous and indistinct. Either way, compositionally what we’re doing is helping the viewer to focus attention on our subject by keeping it in focus while, through the use of blur, relegating the surrounding area to a supporting role.
The Bokeh plug-in takes this concept even further, by adding controlled vignetting. Yes, Photoshop lets you add or reduce vignetting (a gradual fading of the image toward the corners and edges–normally a result of inadequately corrected lens design), but the plug-in takes the effect even further, giving you considerably greater control.
While the plug-in does seem to unduly emphasize vignetting, at its heart is background image softening, or bokeh. This applet appears to use Photoshop’s Lens blur filter (aided by largely transparent selection tools and possibly related effects) but does so with such finesse as to make you ask the question: Why hasn’t someone done this before? Well, they have, but not with this degree of success, control–and ease.
Admittedly, when I first installed Bokeh, I was underwhelmed. But then I started playing around with it and began to realize its awesome potential and new levels of creativity it afforded me, I was a believer.
That said, I do feel it is reaching a bit by providing different lenses as the basis for the effect. I think it would take a Cray super-computer to exactly identify and translate the effects of one lens at one f-stop to a software application. This all seems to be done by extrapolation. Still, it’s a worthy addition for any Photoshop user.
Artsy Plug-ins: Snap Art 2 & Exposure 2
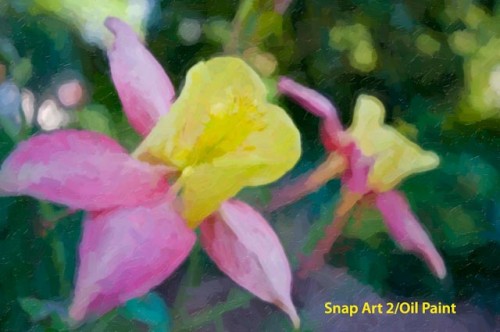
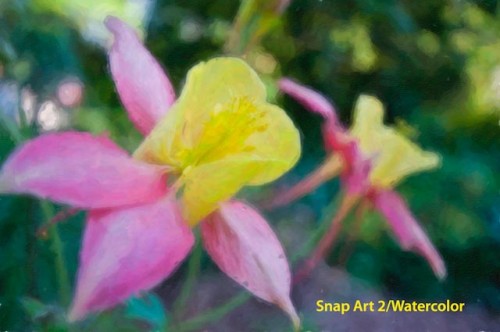
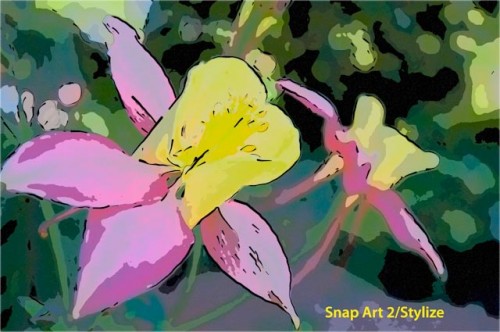
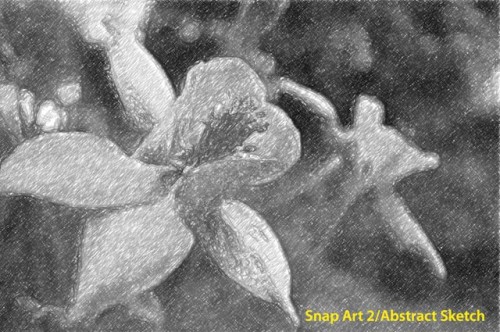
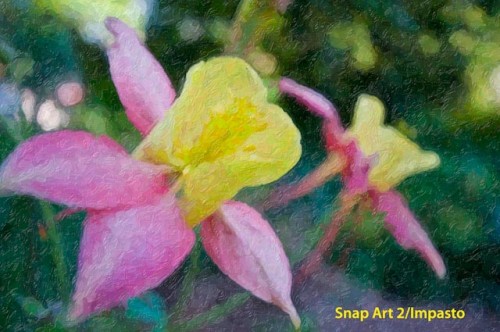
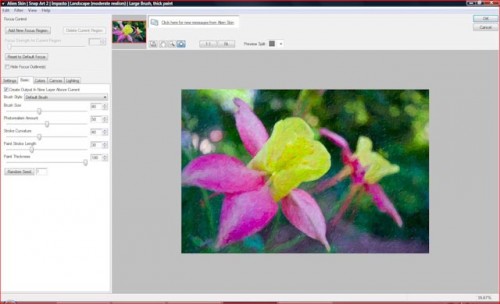
Many effects plug-ins provide the tools to create an artsy-fartsy rendition, which looks as fake as a 3-dollar bill. Photoshop provides plenty of these on its own. The only program that truly simulates what a painter does on canvas or other medium is Corel’s Painter. So if we are willing to accept whatever we do from this point onward with the aid of plug-ins, we will experience a modicum of enjoyment from our efforts. And that applies to Snap Art 2, which provides numerous enhancements over the original, including adding subtle nuances that do make the effects more believable. However, a few of the settings can lead to quite cheesy-looking results. Some of the more credible and inviting painterly/drawing effects include impasto, oil paint, pencil sketch, stylize (a rather abstract rendering) and watercolor.
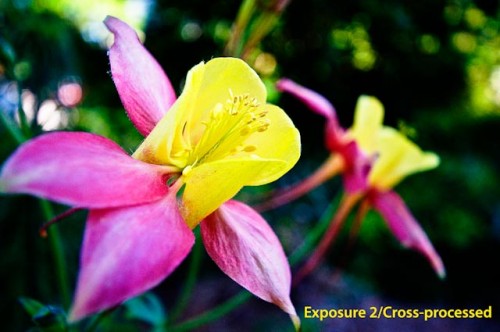
Exposure 2 is a different sort of animal. Here we’re largely converting the original digital image to a simulation of a film or film process. It’s been a while since I’d worked with many of the films included, so I can’t say for sure how accurate these effects are-but I tend to be a skeptic nonetheless as to the veracity of these simulations. And as far as film processing, there are so many variables involved that no single effect can cover them all with any degree of accuracy. In fact, the same can be said of any film, since processing (and printing) inevitably governs the look and feel of the resulting image. That said, if I’m willing to overlook the obvious, and lazy enough not to attempt them using Photoshop’s own tools, I’m willing to accept these effects-if only because they simplify the process. However, it is a pricey way to do something you can probably do on your own.
Utility Plug-ins: Blow Up 2 & Image Doctor 2
I’m going to dismiss Image Doctor 2 right out of the gate. I didn’t see any practical benefit to this plug-in. If you want a plug-in to deal with digital noise, get PictureCode’s Noise Ninja. Even Adobe Camera Raw (ACR) is a better choice. And Photoshop has some very capable filters for dealing with various dust, noise, and JPEG artifacts on its own.
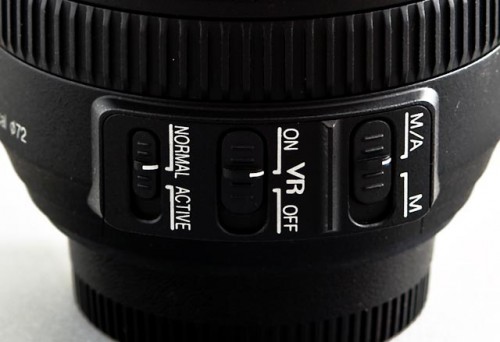
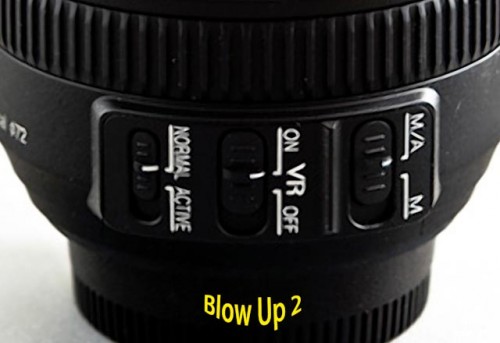
Blow Up 2 is trying to unseat Genuine Fractals as the de facto rezzer-upper. While Blow Up 2 stood its ground-and, in my view, produced more distinct images when blown up to a higher resolution, compared with Genuine Fractals 6-still Fractals has years of marketing behind it. Personally, I don’t care for either. The image loses its vitality. It’s like the movie “Honey, I Blew Up the Kid.” The sequel was no where near as entertaining as the original “Honey, I Shrunk the Kids.” And the same can be said for any plug-in that artificially increases resolution: What follows is never as good as the original. It all depends what you’re willing to accept and what compromises you can live with.
My Quick Takes
Bokeh (street price: $189): successfully simulates selective focus effects, with a touch of vignetting optionally added. Verdict: buy it (the only “must-have” in the group).
Snap Art 2 (street price: $189): attempts to recreate artist renderings and does so somewhat convincingly, if with a touch of artifice-but better than using Photoshop alone. Verdict: buy it (if you like this sort of thing).
Exposure 2 (street price: $229): attempts to recreate various films and film processes with varying success; frankly, I’d prefer to create these effects using the tools already available in Photoshop. Verdict: skip it (unless you’re too lazy to do the legwork yourself).
Blow Up 2 (street price: $229): rezzes an image up and does a decent job of it; still, the result is like buying an obviously forged Rembrandt. Verdict: skip it (unless you do a lot of tight cropping and need the added real estate).
Image Doctor 2 (street price: $187): a total waste of time; you’ll do better using Photoshop to remove noise, dust, and JPEG artifacts or a dedicated noise reduction software for this specific problem. Verdict: skip it.
For more information, visit: www.alienskin.com.

Robert
18 Jun 2009I recently got into bokeh since I discovered it on photographyblog.com. This is definitely my favourite photoshop plugin for retouching photos. Its totally easy to use and has amazing results!