The perfect photography portfolio has to accomplish a number of goals: it needs to be aesthetically pleasing, cover the entire range of your work that the viewer would be interested in, and still concise enough to be easy to view. As a result, to curate the perfect photography portfolio, you have to understand your work, your client’s expectations, and how to actually cut down your entire body of work into an effective subset.
In this post, we’ll take a look at how to evaluate your photography to find winning photos, the software tools and techniques to make that search easier, and the actual technical considerations involved in preparing your photos for an online or print portfolio.
Evaluating Your Photography
One of the biggest challenges involved in creating any portfolio or retrospective of your work as an artist is balancing your personal feelings towards the photos with the expectations of your viewers. While you might love a photograph because it represents something special to you, if your viewers don’t have that same connection, they won’t see it in the same way as you.
If you’re like many portrait photographers, who’s portfolio also represents a key marketing tool for their business, this issue only becomes more complicated. Now, you not only have an artistic consideration, but also a business one. Your portfolio needs to attract new clients, inspire existing ones to book you again, and represent your work in the best light. Depending on how you approach your business, you might rank each of these priorities differently. For instance, if you’re just getting started, you might need to put up whatever photos you have to start building a presence, while planning on quickly updating as you get more opportunities. If you’re already very established, it still might be worth re-examining your portfolio. Trends change, and your portfolio should too.
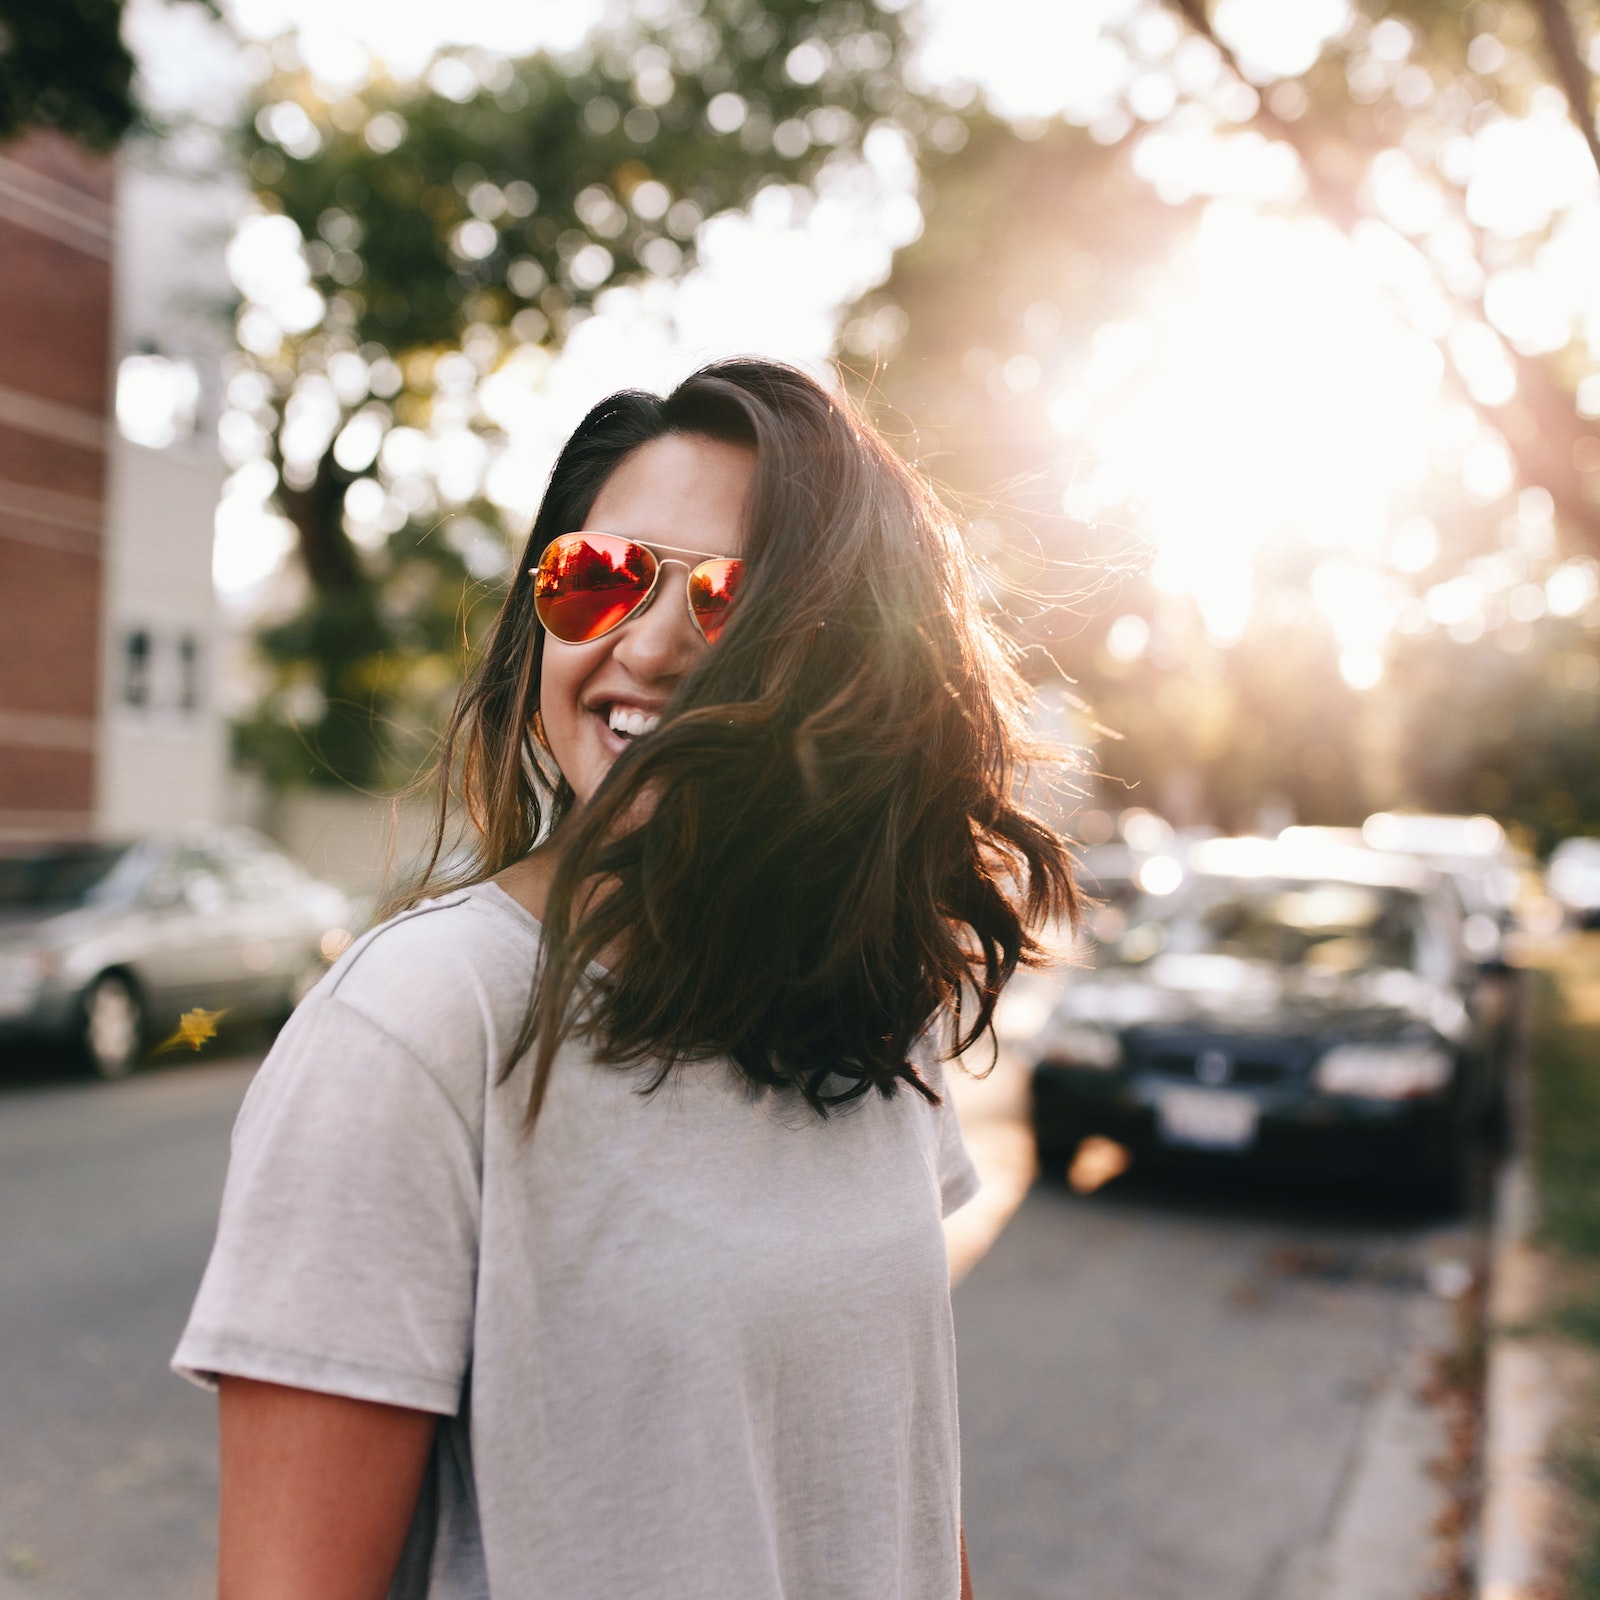
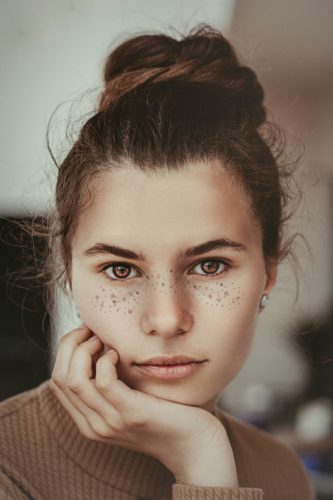
Regardless of which approach you take, a portfolio should always be composed of your best images. This isn’t a client gallery or a place to store your photos online. Instead, it’s a selection of photos that should each leave a client or viewer impressed. These are the “wow” photos, and it’s unrealistic to expect multiple photos from a single shoot that are truly portfolio worthy. Of course, if you’re new to portrait photography, it’s ok to work in multiple photos from a single shoot, but just remember to mix in some new material whenever possible.
On the question of quantity, for a portrait portfolio, I feel that less than 20 pictures should be able to help a viewer understand your body of work. If you work in multiple styles or genres of photography, consider splitting your portfolio up into separate instances. A wedding portfolio, a senior photography portfolio, and a corporate headshot portfolio can all work well as separate pages on your website, but may clash if you try to combine them all into one.
When working with such a small number of photos, don’t forget to prioritize variety within each genre. Consider mixing different post-processing styles, like color and B&W, wide photos and tight portraits, and a mix of subjects. Even within a very specific niche, you should be able to highlight a range of looks – you never know which one will resonate with your viewer or client. Another important attribute to keep in mind when selecting images is the expressions of the subjects. Finding a variety of looks may be challenging in some niches, but can make a big difference in separating your work from the perception of static, boring portfolios.
Depending on your region and local laws, there may be rules and regulations surrounding how you can use your client’s likeness. Even beyond the legal requirement, there’s also the customer service dimension – you don’t want to surprise your client by having put their picture online without their advance knowledge. To reduce this risk, make sure you’ve consulted with a legal professional and developed a clause in your contract appropriate for the situation. Even beyond that, I’d recommend directly contacting the client and confirming that they’d be good with you using their picture in your online portfolio. In my experience, everyone’s been happy to be asked, and it’s better safe than sorry.
If you’ve found that you don’t have enough range, or just haven’t had enough opportunity to shoot, consider setting up a styled shoot, specific for your portfolio. One important thing to keep in mind is that this shoot isn’t going to have the challenges of a real shoot with a client, so make sure what you produce is something you’d be capable of creating on an actual booking. With that in mind, a styled shoot can be a great way to branch into new areas, highlight a new style of post-processing, or update your portfolio to include new scenery if you’ve recently moved.
Tools of the Trade

Now that we’ve considered what are some of the important design considerations behind choosing photos for your perfect portrait photography portfolio, let’s look at some of the best tools and techniques you can use when selecting your photos. Culling, or selecting the best images, can be time consuming. Depending on how you have stored your photos, you may have to go through dozens of folders and search through a variety of storage mediums. Fortunately, there’s a variety of software options to help make this search easier.
One of my favorite tools for searching through a photography library is Lightroom. Created by Adobe, the makers of Photoshop, Lightroom is a combination of a great raw image processor and easy to use digital asset management tool. This means it not only will edit your photos, but also let you track, tag, keyword, and manage where those photos are.
Even if you haven’t been using Lightroom for editing, I’d still suggest taking a look at it solely for its digital asset management capabilities. Compared to competing options, Lightroom has some of the best options for organizing and browsing even large libraries of photos. The initial import of a large library not already in Lightroom might take a few minutes, but I think it’s worth it. There are a variety of views available for culling, along with automated tools for organizing photos based on keywords or flags, and even a facial recognition and sorting function. With these features all in one package, Lightroom is an incredibly powerful tool for organizing and sorting even large photo libraries, and it’s an industry standard for a reason.
If you aren’t interested in purchasing Lightroom or subscribing to Adobe’s Creative Cloud offerings, there are still workable options. Darktable is a powerful open source photography application that offers many similar features to Lightroom, including the ability to organize your photos in a database. For smaller libraries, even something like iPhoto can work, although I’d strongly suggest trying at least Darktable – the gap between consumer and professional grade software is huge when working at the higher levels of photography.
When actually browsing through your images, don’t worry about cutting everything down to a final set in a single pass. Instead, try grabbing 100 of the best into a temporary folder, collection, or color label, then look to cut that in half by eliminating the weaker of two similar photos. From there, it’s just one more pass to reach a final figure of 20 or 25. In this way, you can work to emphasize a variety of portraits and styles from across your work. It also has the benefit of making the task a little less daunting to start!
In Lightroom, if you already are making use of the rating systems like flags, stars, or color labels, you don’t have to worry about messing that up. Just use a quick collection, which by default is the B key, to pull that initial set of photos. From there, you can access the quick collection itself, and remove photos by selecting them and pressing the B key again. Once you’ve got a final batch selected, you can even save this temporary collection as a permanent one, making it easy to refer to in the future!
The Technical Considerations

With your intended portfolio images in mind, there’s only one last step before you can upload or print: creating the best quality version for your intended medium. If you’re like many photographers and are intending to produce an online portfolio,there are a number of important technical considerations to keep in mind when setting up your export. For a print portfolio, you’ll actually want to prepare your files entirely differently from a web image.
Exporting images for use in a web portfolio is relatively easy. There’s no need to make it overly complicated. In fact, most of the major mistakes involved in creating a web ready image actually come from using overly complicated settings. Your final file should be a JPEG with an sRGB color space, typically resized to a more manageable size (but maybe larger than you think if you’ve been a photographer for a while). Let’s take a look at each of those attributes to better understand why they’re configured how they are, as well as how to set them up in Lightroom.
The most important part of a properly exported file is the file type. While you might be shooting in a raw format like .NEF or .CR3, then editing and saving them as .TIFF or .PSD, you have to be exporting them as a JPEG. This format is by far the most interoperable image format – any service on the web and any device around can typically display it. Besides the size savings on your web server, you can be confident that the file will open and appear properly anywhere you choose to display it.
Don’t forget, however, that going to JPEG is a lossy process. This means that it saves space by throwing away some unneeded parts of the image. Ordinarily, this isn’t a problem, but if you save a JPEG, go back and tweak something, and save it again, you’ll start to lose image quality. Instead, keep using a proper intermediate format like .TIFF or .PSD, and only export a JPEG as a final step.
When choosing a JPEG format, you’ll often be prompted to select the amount of compression you want to apply. Each program can present this option in a different way, like on a scale of 1 to 100, 1 to 12, or 1 to 10. As a good rule of thumb, 80% compression with a JPEG is considered perceptually lossless, i.e. an uncompressed and compressed image will be indistinguishable. For web sized images, you can even apply more compression, depending on the service, but we’ll talk more about this in the image size section.
Along with the proper format, you should also be saving the file with the proper color space. Digital color can become incredibly complicated very quickly, so as a quick recap, remember that color spaces like AdobeRGB and ProPhoto offer a “broader” range of colors, but are often unsupported by things like low end print kiosks and some web browsers. What this means for you is that if you already work in a non-sRGB color space, don’t forget to convert back to sRGB when exporting a finished file.
One final setting to keep in mind is the actual resolution of the image. The size of the image plays an important role in both the viewer’s experience and appreciation of the image, as well as having an impact on your portfolio’s setup. While a larger image is almost always better, it does come with the downside of taking longer to download, as well as potentially being more susceptible to image theft.
These days, many devices have screens that have significantly more resolution than even the older Full HD standard of 1920×1080, making old web resolutions like 1000 pixels or 720P seem small. Retina displays, 4K displays, and phones with over 2K resolution are all common, especially among higher income clients. Fortunately, internet speeds have also kept up, making download time less of a consideration. As a result, I’d advise considering something like 2000 pixels along the long edge to be the minimum resolution you use. If your web hosting setup supports dynamic resizing of images, all the better! In that case, export something like a 4000 pixel long image and let your server feed the appropriate size image to each user.
For these larger images, you can actually increase the amount of compression applied. By going to 65% or 75%, you can still create a very good looking image that’s light enough to download even over slow internet. For a variety of reasons, including SEO and user experience, it’s important that all your images download quickly. Consider testing the finished version of your portfolio over a slower connection to make sure the experience is still good, and consider decreasing the size or increasing the compression if it isn’t.
In print, things can vary depending on how you’re printing. If you’re using a quick, local lab like Walgreens, I’d just suggest exporting an sRGB JPEG at full resolution and with minimal compression – the print quality isn’t going to be high enough for more complicated options to matter. When working with a dedicated photo printer, lab, or when printing your own work, things can get a bit more complicated.
Any good print lab should have a guide of the file setup they’d like. Some will support larger color spaces, take TIFFs, or offer printer profiles. Printer profiling essentially lets you get a more accurate preview of what the finished product will look like, right on your monitor. This lets you make adjustments ahead of time to get the best result possible on the first print.
Conclusion
Creating a perfect portrait photography portfolio starts with a good understanding of what your clients are looking for. Keeping it to a reasonable, effective number of photos makes it easier to grasp what look you offer, even if it means a bit more work on your part. Fortunately, there’s a number of effective tools, like Lightroom and Darktable, to help you with this process. When you’ve finally got those winners in mind, don’t forget to export with the display medium in mind!
Start selling prints online today
Pick up the Photocrati theme and take advantage of beautiful designs, and NextGEN Pro’s incredible ecommerce features and automated print fulfillment.