
As a photographer, the way you present your images online can have a major influence on the success of your business. However, understanding the critical role this plays on your site and knowing how to go about it properly are two different things.
Fortunately, there are simple strategies you can use to put your best foot forward when displaying your work online. From file optimization to image protection, taking a careful and strategic approach to your content can elevate your photography site to the next level.
In this post, we’ll explain how presenting your images well can improve your photography business. Then we’ll provide you with three essential tips for doing so. Let’s jump in!
How Properly Presenting Your Images Online Can Benefit Your Photography Business
You could have the most stunning images in the world. However, for existing and potential customers to truly appreciate your craft and skill level, it’s essential to display your work in an appropriate manner.
The way you present your photos online impacts how easy it is for leads to view them, as well as your site’s overall performance and security. Failing to take proper steps when adding images to your site could even leave them open to theft.
Unfortunately, this can be a difficult task for many photographers. After all, while you might be passionate and skilled in photography, that’s not the same as being a web designer.
However, you don’t need to be an expert in this field to increase the aesthetics, performance, and security of your images online. Plus, there are plenty of inexpensive tools you can use to simplify the process.
3 Essential Tips for Presenting Your Images on the Internet
Even if you have little experience with web development, there are simple techniques you can use to display your photos professionally online. Here are three essential tips you can use for presenting your images.
1. Choose the Ideal Dimensions for Your Images
The size of your images can greatly influence their presentation on your website. It can also affect your site’s speed, which we’ll discuss in more detail later.
The ideal sizes for your images hinge upon a number of factors, including the type of hosting you’re using. For example, if your site is on a shared plan, a large number of huge files can hurt your loading times. However, if you have a dedicated server, this likely won’t be a concern.
As a general rule of thumb, ideal display sizes for your images according to the type of hosting you use are:
- Shared: 1,000 px
- Cloud: 1,400 px
- VPS: 1,600 px
- Dedicated: 2,200
When it comes to resizing your images, you have a few options. You can do it before or after you upload them to WordPress. There are also a variety of tools for tackling this process.
One of the most efficient is a plugin that can resize your images automatically, such as NextGEN Gallery:

You can download this version of the plugin for free from the WordPress Plugin Directory. To access the automatic resizing options, navigate to Gallery > Other Options > Image Options.
2. Optimize the File Sizes of Your Images Before Uploading Them to WordPress
The larger your image file sizes, the more disk space they take up. Additionally, visitors’ browsers and your server will have to work harder to load bigger photos.
There are a variety of ways to optimize your images for the web. Two of the most popular and effective methods are compressing images and using lazy loading. Both of these tasks can be achieved using a plugin such as WP Smush, Imagify or ShortPixel:
They let you automatically condense images’ file sizes. Some include a lazy load feature so that the photos on your webpages will only render once a visitor scrolls down to them.
This ensures that not all the files on the page are loading at one time. Since that can slow down your site and hurt both your Search Engine Optimization (SEO) and User Experience (UX), this is a key technique for presenting your images online.
3. Use a Plugin With Image Protection Features
One of the advantages of running an online photography business is the expansive reach available to you. You have the ability to sell more photographs to a wider range of audiences across the world.
On the other hand, it’s not without its disadvantages. One of the biggest drawbacks of presenting your work on the internet is the risk of image theft.
Safeguarding and protecting your intellectual property and creative work is a priority. This is why we recommend activating image protection features for the content you include on your WordPress site.
One way to do this is to use the NextGEN Pro plugin:
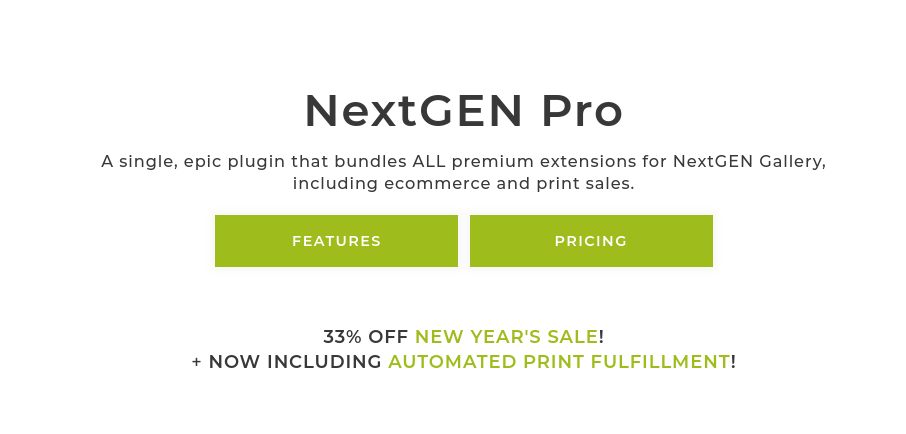
This is the premium version of NextGEN Gallery, which we mentioned earlier. After you install and activate the plugin, you can find the image protection features under Gallery > Other Options > Image Protection:
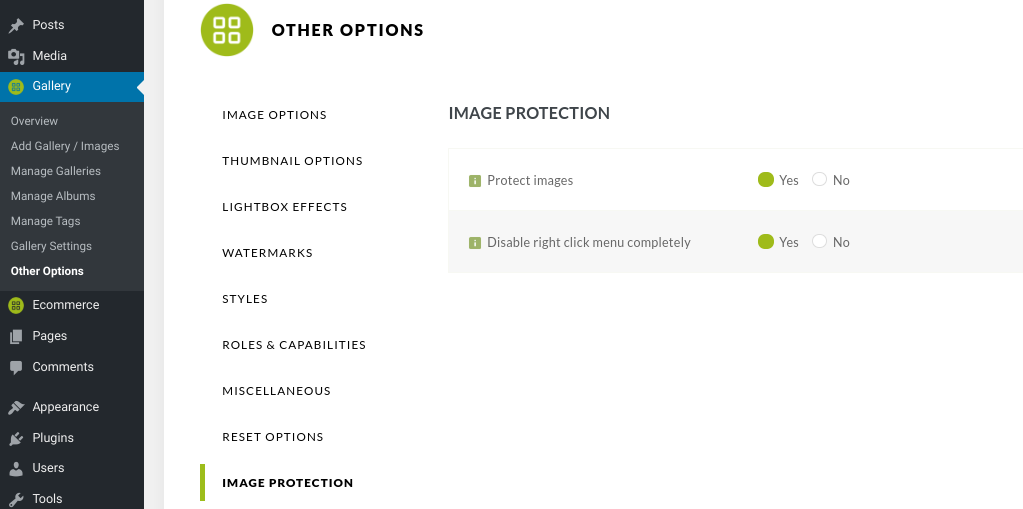
When you activate the image protection features, you can disable right-click on your images. This means visitors to your site won’t be able to illegally download and save your photos to share them without authorization. You can also use NextGEN Pro to create and add watermarks to your visual content.
Conclusion
One of the easiest yet worst mistakes you can make with your photography site is overlooking the importance of image presentation. While your photos themselves may be beautiful, perhaps just as critical to the success of your site is how they’re optimized and displayed.
In this post, we provided you with three essential tips you can use for presenting your images on the internet:
- Choose the ideal dimensions for your images.
- Optimize the file sizes of your images before uploading them to your WordPress site.
- Use a plugin that has image protection features.
Do you have any questions about presenting your images online? Let us know in the comments section below!

Lisa
2 Jun 2020I really hope these tips will help us to improve how our image projects are presented! I understand using photoshop to optimize images… but it would be easier to resize and optimize this in Imagely! You did a great job explaining each tip and your reasoning behind it! Thanks, WILL MORRIS!
Will Morris
4 Jun 2020Happy to help, Lisa!