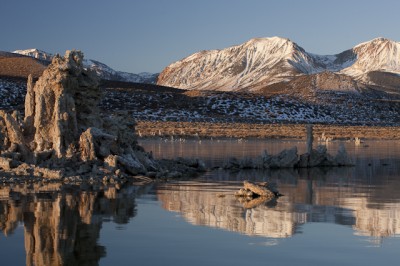
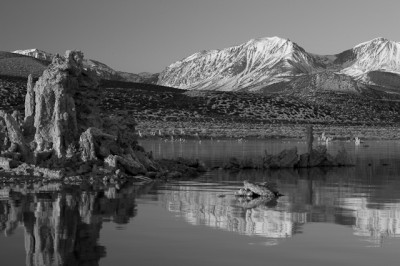
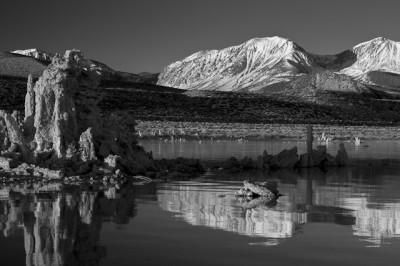
Nearly every digital camera on the market is built around a sensor designed for color imaging. As a result, it’s a little too easy to forget they can be used to produce fine black-and-white images as well. That’s a pity, because, in many ways, a workflow that starts from a color RAW image offers enormous power and flexibility. In this post, we’ll take an introductory look at producing black and white images from color digital RAW files using Adobe Photoshop Lightroom.
Getting started couldn’t be simpler, after having imported your image into Lightroom and moving to the Develop module, notice that at the top of the “Basic” panel Lightroom offers a choice of Color and Greyscale “treatments”, switching from one to the other is as simple as clicking on one of the names-but not quite yet. First, you’ll want to consider adjusting the white balance, which probably sounds a little confusing at first. After all, white balance is all about adjusting the image to be warmer or cooler, and yet we know we’re going to end up with a neutral result, what gives?
The answer isn’t that complicated, as we work through this process, Lightroom is going to give us the ability to adjust just how bright parts of the image that started out particular colors are once converted to black and white. For example, if you have a lemon sitting on a blue table, Lightroom will give you controls which will let you adjust the lemon to show brighter than the table, or darker. Those controls are similar to, but offer more control than, the use of colored filters in black and white film photography, particularly since they allow you to decide on the proper “filtration” after shooting. However, if your white balance leaves the entire image blue to begin with, those controls won’t help you, so if you start off by picking a white balance that really separates the different subjects in the image into different hues, the rest of this workflow will have more to offer you. Often, as in this example image, a fairly natural white balance such as the one we’ve used in the example here will work well, but that’s not required.
So, set your white balance, then select Grayscale.
The core of this workflow is the “Greyscale Mix” panel, several panels down from “Basic” in the Develop module. These eight sliders selectively darken or lighten parts of the image based on their original color, in our example the predominant colors are the blue of the sky and the orange/brown of the tufa, brush and earth. In this case, I decided I wanted to darken the sky and brighten the oranges. While it’s possible to simply slide the orange slider to the right, and the blue slider to the left, the simpler way is to select the little circle in the upper-left of the Grayscale Mix panel, the Targeted Adjustment Tool (TAT). With the TAT, you can select parts of the image directly, move the cursor to the sky of the image and drag downward. With practice, you can rough in a very good set of mix settings for an image with the TAT in a very short period of time, it’s a great tool.
That’s it! With this basic workflow, Lightroom allows for quick and flexible black and white conversions and really opens up a world of black and white photography to the digital shooter. Tomorrow, I’ll address a couple potential gotchas and their solutions.


