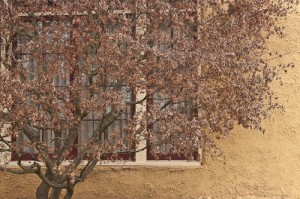
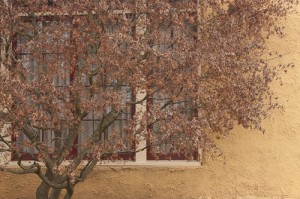
In teaching Lightroom workshops, I’ve found that one of the most difficult controls to explain to photographers is the clarity slider. It’s fairly easy to demonstrate, and people pick up what it does fairly intuitively with a little practice, but I’m going to try in this post to explain what’s going on with clarity with a goal of helping you understand how to use this very useful control (and it’s local adjustment brethern) more effectively.So, then, what is this clarity thing? Clarity (in Lightroom and Adobe Camera Raw) is way of increasing the sense of depth and local contrast in an image, and is essentially equivalent to techniques often referred to as definition (in Aperture) or local contrast enhancement (often in descriptions penned before Lightroom and ACR added explicit support. Broadly speaking, the clarity adjustment looks for larger light areas surrounded in part or in whole by dark, and makes the lights lighter and the darks darker. It similarly affects larger dark areas surrounded in part or in whole by light areas. Much as happens on a much smaller scale in what we usually referred to as shapening, near the boundaries of a transition (usually the edges of an object), the lighter side of the edge gets even a bit lighter, the darker side of an edge gets a little darker.
Skilled darkroom printers, both chemical and digital, often accomplished the same goal one edge at a time through dodging and burning. Clarity can be thought of as a wholesale application of this edge-enhancing dodging and burning across an image. As a “wholesale” technique, it gains in ease of use and broadness of application, but doesn’t directly give the photographer as much control over which edges should be sharpened, which sides of an edge deserve more emphasis, etc.
Used judiciciously, adding a little bit of clarity to an image often gives the impression that some sort of masking haze has been removed from an image.

To get a really good sense of it, though, you do need to just sit down and play with it yourself, whether in Lightroom, Aperture or Camera Raw. Experiment with it on a variety of images. Try an image with some very smooth areas (like a sky) and take the clarity slider all the way to the top, once you see the halo artifacts that clarity can result in you’ll have a better eye for knowing how much is “too much”, similarly, crank up the clarity on an image with a lot of fine detail and watch how the image starts getting really crunchy-overuse of clarity recently got a photographer kicked out of consideration for an annual photojournalism award.
Clarity is additionally sometimes useful as a local adjustment. When we look at a photograph, there are patterns to what aspects of an image our eyes are drawn to, and local contrast in part of an image is often something that pulls the eye toward it. Because of this, clarity used in a limited area of an image (perhaps with LR’s local adjustment brush) can be a way of creating emphasis in an image, much as is often done with focus.
In my next installment, I’ll talk a little bit about a related, newer effect, that of negative clarity, and one or two of it’s common uses in the digital darkroom.
